How to Deploy Smart Contracts Using Foundry
Building and deploying smart contracts often involved using Truffle or Hardhat, but these days, it seems that using Foundry is becoming more popular. Therefore, even for those who have never deployed a smart contract to the blockchain, I'll explain in a simple way how to do it using Foundry. You can install Foundry for Mac and deploy smart contracts, and it seems like a similar process would work for Windows as well.

curl -L https://foundry.paradigm.xyz | bashOnce installed, you can run foundryup. However, if you encounter an error like 'zsh: command not found: foundryup,' you can fix it as mentioned above. In my case, I ran source /Users/hamin/.zshenv and then I was able to execute foundryup.
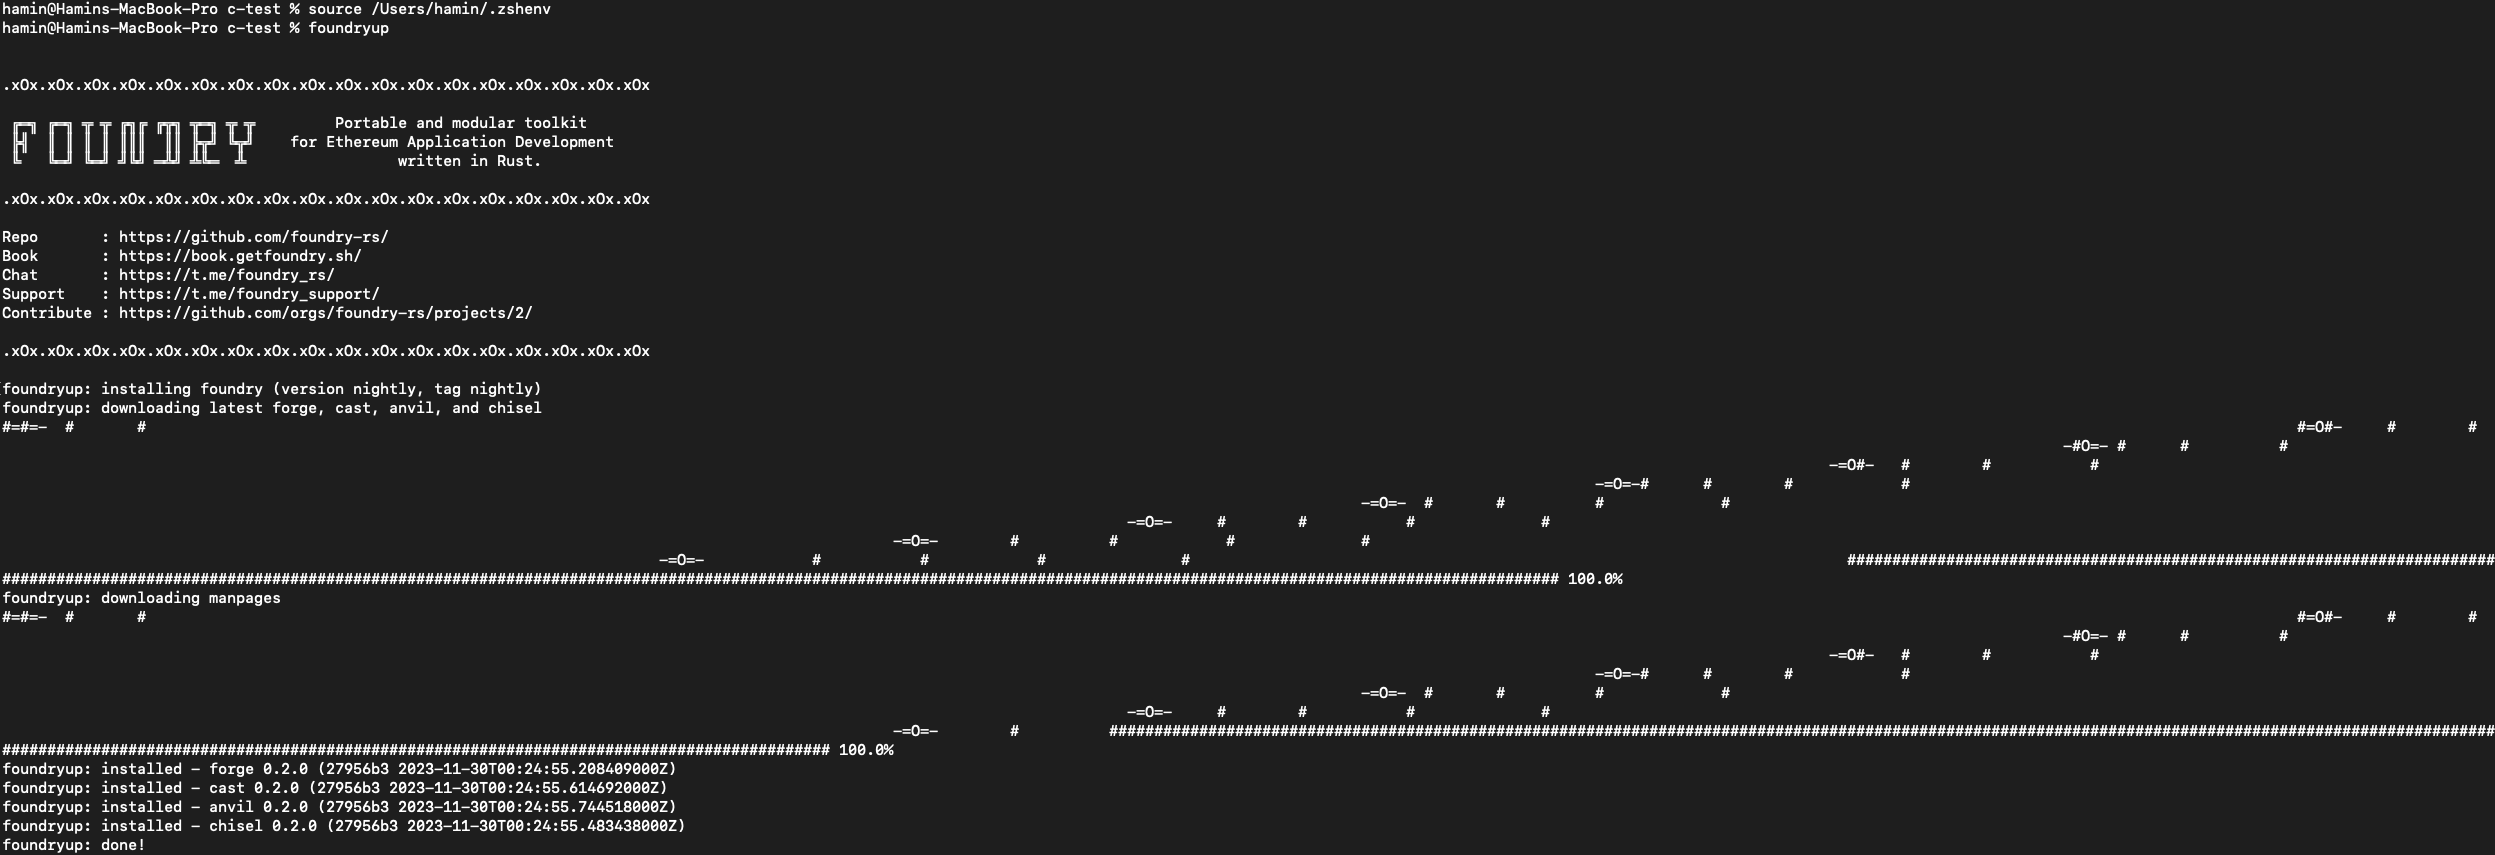
After running foundryup and installing Foundry, you can check the version by executing forge --version.

Now that Forge is installed, let's create a new project.
forge init cointrainerExecute forge init followed by any project name of your choice.
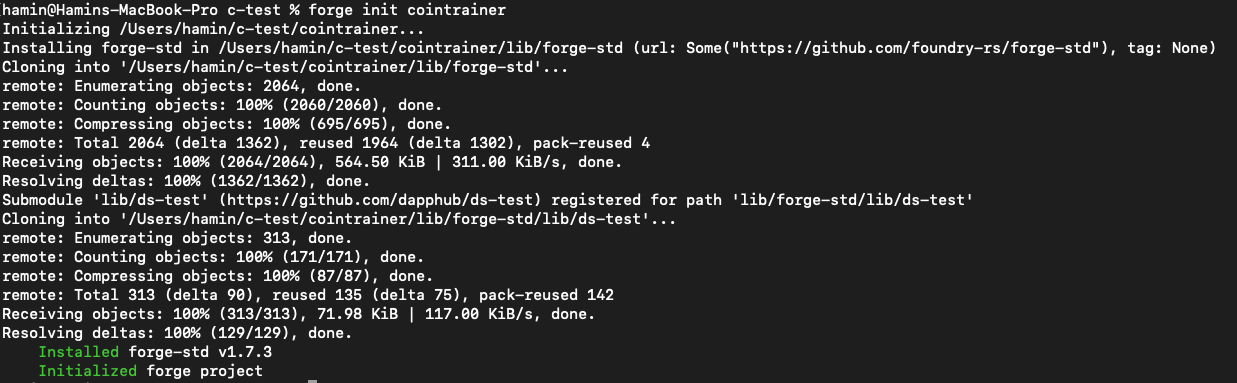
If you open this project created as a folder in VSCode,
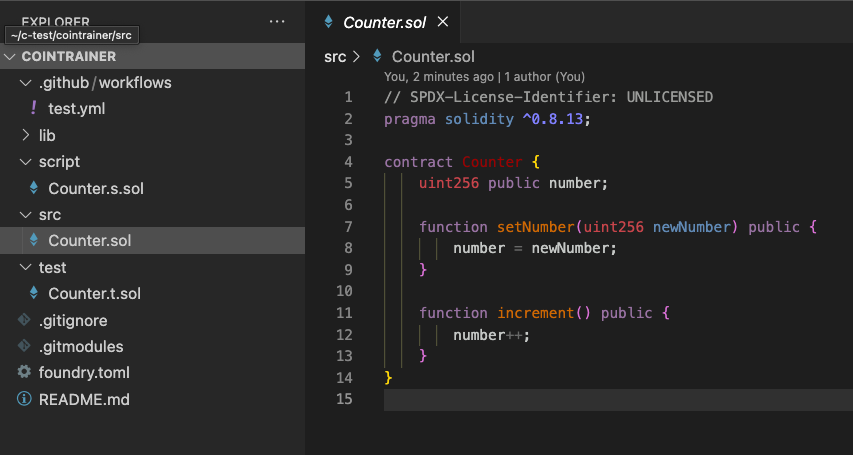
You can see it created like this. Let's deploy the already created Counter.sol to Polygon Mumbai. Create a .env file in the folder.
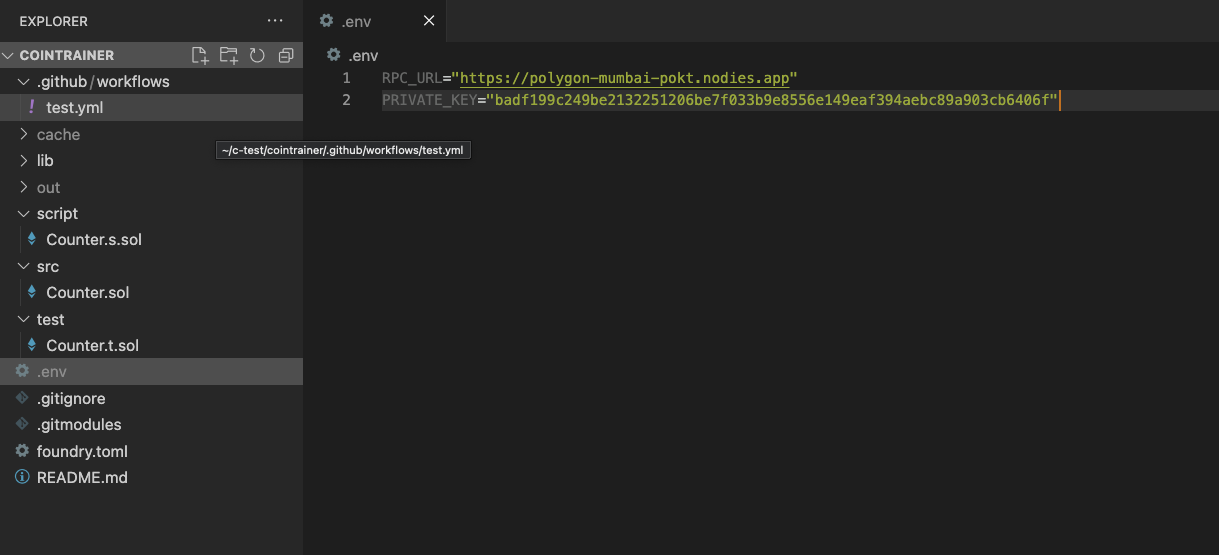
Insert these two lines in the .env file:
RPC_URL=https://polygon-mumbai-pokt.nodies.app and PRIVATE_KEY=""
You can obtain the private key from MetaMask.
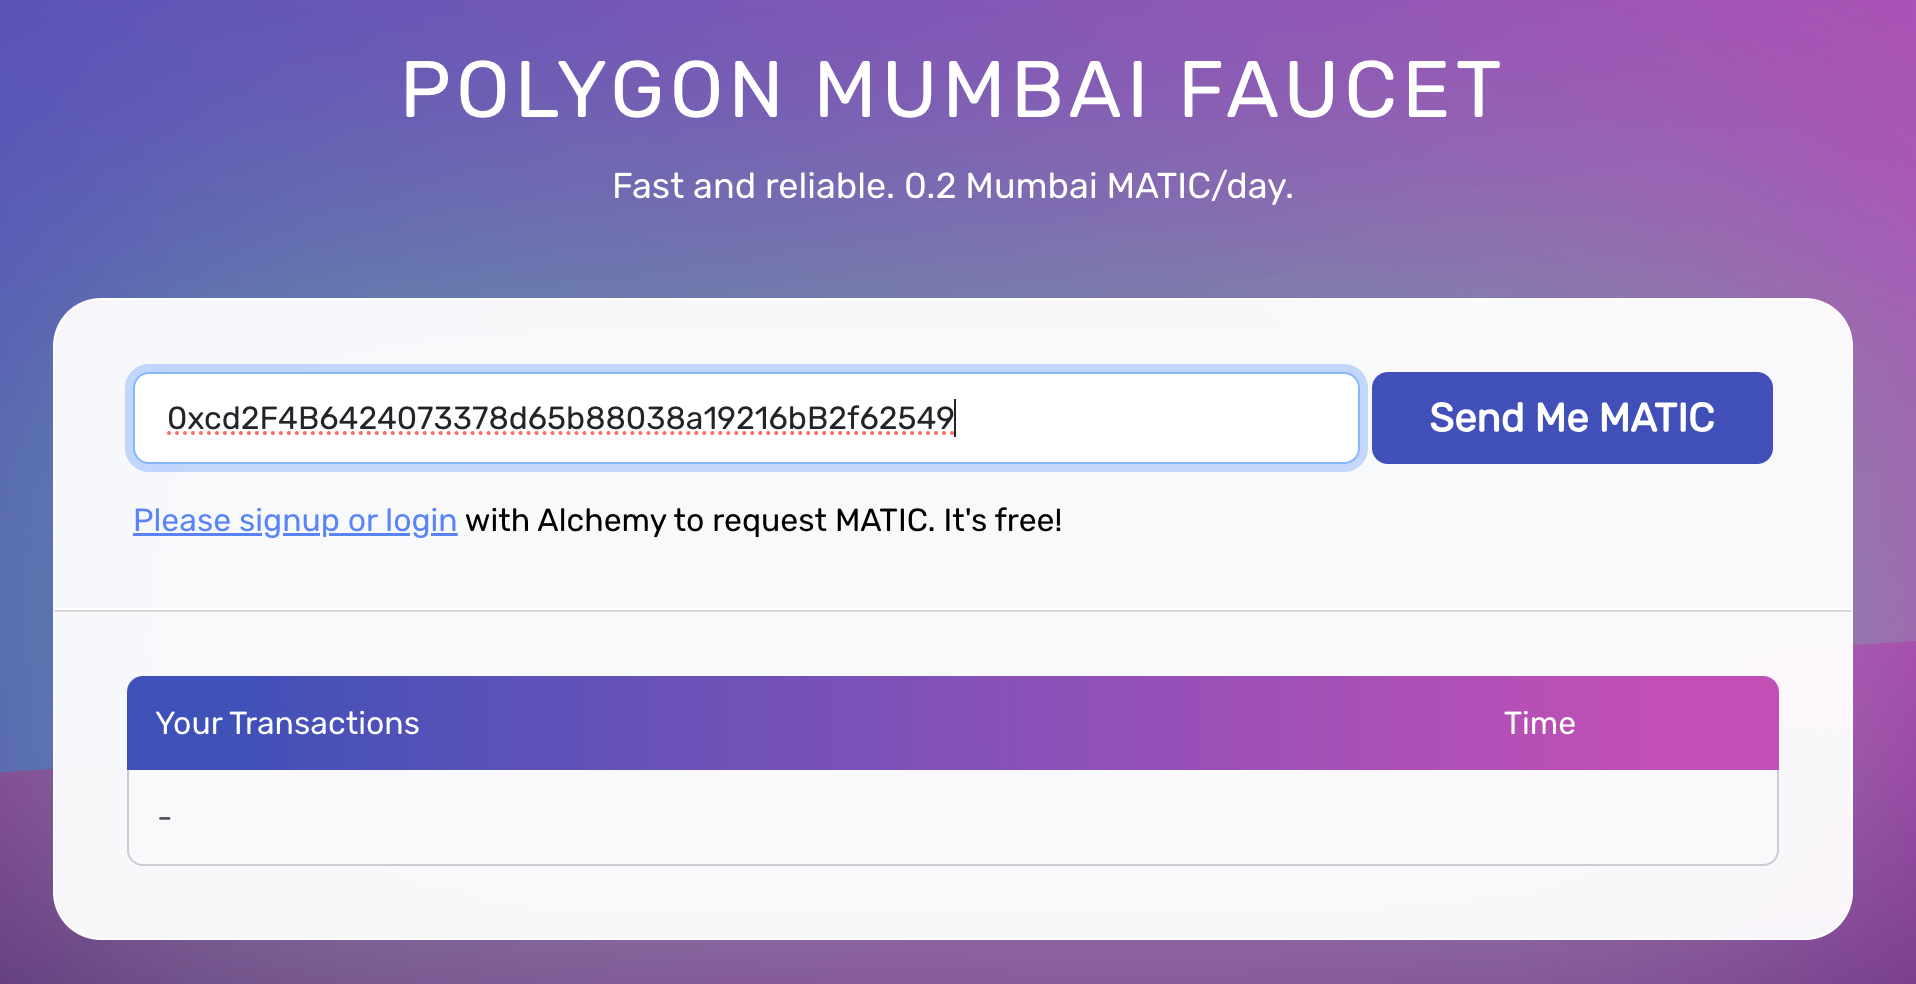
If you don't have Mumbai tokens, you can get them from https://mumbaifaucet.com/.
Add RPC_URL and PRIVATE_KEY to the .env file, and then open the terminal in VSCode.
source .env
echo $RPC_URL
Then, you can retrieve the RPC_URL value that was previously entered in the .env file.

Now, the only thing left to do is to deploy Counter.sol
forge create --rpc-url $RPC_URL --private-key $PRIVATE_KEY src/Counter.sol:Counterex)

The deployment is now complete. You can see the deployed contract by entering the 'Deployed to' address on MumbaiScan. Visit MumbaiScan at https://mumbai.polygonscan.com/ to check.
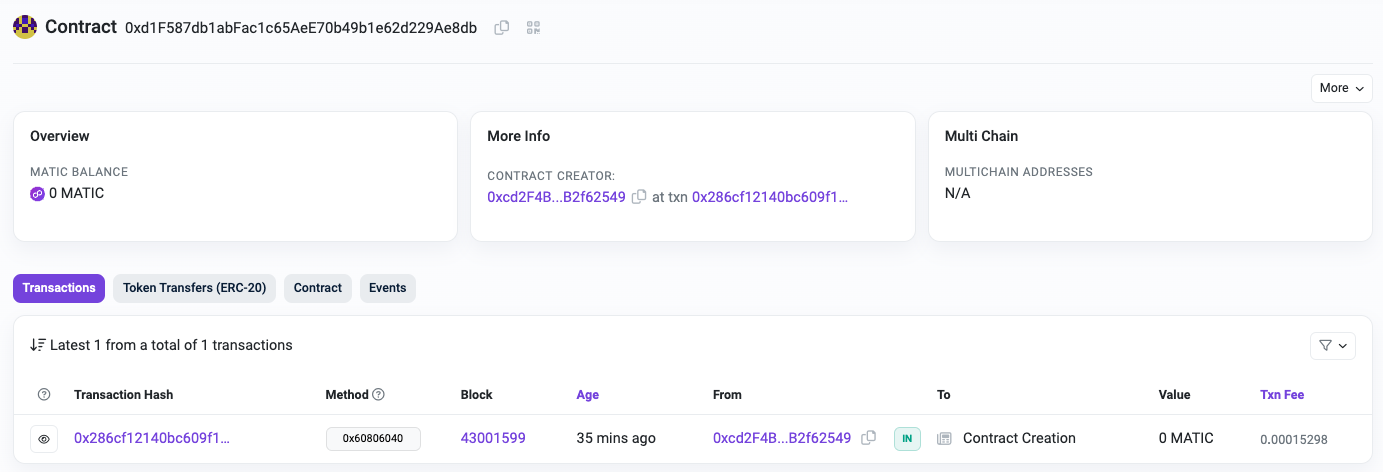
Image source: Generated through OpenAI's DALL·E.